Introduction
Developing a music player app provides hands-on experience with Android's MediaPlayer class, UI design, and handling external resources. This project will guide you through creating a functional music player that can play, pause, and stop audio playback.
Prerequisites
Before starting, ensure you have a basic understanding of:
- Android fundamentals
- Installing and setting up Android Studio
- Creating and running your first Android app
Step 1: Setting Up a New Android Project
- Open Android Studio and select "New Project".
- Choose "Empty Activity" and click "Next".
- Name your project (e.g., "MusicPlayerApp") and ensure the language is set to Java.
- Click "Finish" to create the project.
Step 2: Designing the User Interface
Designing an intuitive user interface is crucial for user engagement. For this app, we'll use the following components:
- ImageView: Displays the album art or a placeholder image.
- Buttons:
- Play Button: Starts the music.
- Pause Button: Pauses the music.
- Stop Button: Stops the music.
					<?xml version="1.0" encoding="utf-8"?>
<androidx.constraintlayout.widget.ConstraintLayout xmlns:android="http://schemas.android.com/apk/res/android"
    xmlns:app="http://schemas.android.com/apk/res-auto"
    xmlns:tools="http://schemas.android.com/tools"
    android:id="@+id/activity_main"
    android:layout_width="match_parent"
    android:layout_height="match_parent"
    tools:context=".MainActivity">

    <TextView
        android:layout_width="wrap_content"
        android:layout_height="wrap_content"
        android:fontFamily="sans-serif-medium"
        android:text="Music Player Android"
        android:textSize="20sp"
        app:layout_constraintBottom_toTopOf="@+id/imageView"
        app:layout_constraintEnd_toEndOf="parent"
        app:layout_constraintStart_toStartOf="parent"
        app:layout_constraintTop_toTopOf="parent" />

    <ImageView
        android:id="@+id/imageView"
        android:layout_width="wrap_content"
        android:layout_height="wrap_content"
        android:layout_gravity="center_horizontal"
        android:src="@drawable/your_image"
        app:layout_constraintBottom_toTopOf="@+id/playButton"
        app:layout_constraintEnd_toEndOf="parent"
        app:layout_constraintStart_toStartOf="parent"
        app:layout_constraintTop_toTopOf="parent"
        app:layout_constraintVertical_bias="0.4" />

    <ImageButton
        android:id="@+id/playButton"
        android:layout_width="wrap_content"
        android:layout_height="wrap_content"
        android:background="@android:drawable/ic_media_play"
        android:contentDescription="Play Button"
        android:onClick="playMusic"
        app:layout_constraintBottom_toBottomOf="parent"
        app:layout_constraintEnd_toStartOf="@+id/pauseButton"
        app:layout_constraintHorizontal_bias="0.5"
        app:layout_constraintStart_toEndOf="@+id/stopButton"
        app:layout_constraintTop_toBottomOf="@+id/imageView" />

    <ImageButton
        android:id="@+id/pauseButton"
        android:layout_width="wrap_content"
        android:layout_height="wrap_content"
        android:background="@android:drawable/ic_media_pause"
        android:contentDescription="Pause Button"
        android:onClick="pauseMusic"
        app:layout_constraintBottom_toBottomOf="parent"
        app:layout_constraintEnd_toEndOf="parent"
        app:layout_constraintHorizontal_bias="0.5"
        app:layout_constraintStart_toEndOf="@+id/playButton"
        app:layout_constraintTop_toBottomOf="@+id/imageView" />

    <ImageButton
        android:id="@+id/stopButton"
        android:layout_width="wrap_content"
        android:layout_height="wrap_content"
        android:background="@android:drawable/ic_delete"
        android:contentDescription="Stop Button"
        android:onClick="stopMusic"
        app:layout_constraintBottom_toBottomOf="parent"
        app:layout_constraintEnd_toStartOf="@+id/playButton"
        app:layout_constraintHorizontal_bias="0.5"
        app:layout_constraintStart_toStartOf="parent"
        app:layout_constraintTop_toBottomOf="@+id/imageView" />

</androidx.constraintlayout.widget.ConstraintLayout>
Step 3: Adding the Music File
To add a music file to your project:
- Create a
rawdirectory:- Right-click on the
resdirectory. - Select New > Android Resource Directory.
- Name it
rawand set the resource type toraw.
- Right-click on the
- Add your audio file:
- Place your audio file (e.g.,
sound.mp3) into therawdirectory.
- Place your audio file (e.g.,
- Create a
-
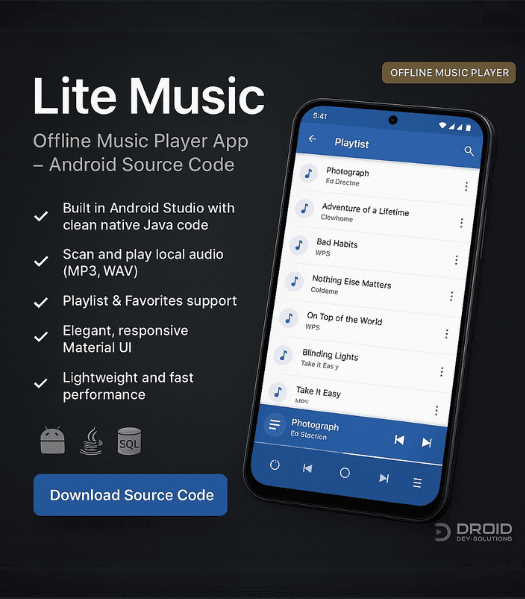
 Lite Music – Offline Music Player App Source Code (Android + Java + SQLite)
₹5,999.00Original price was: ₹5,999.00.₹3,999.00Current price is: ₹3,999.00.
Step 4: Implementing the Functionality
Now, let's implement the functionality of our music player using the MediaPlayer class. This class provides an easy way to play audio files in Android apps.
1. Initialize MediaPlayer in Java
Create a MediaPlayer object and assign it an audio file from the raw folder.
					package com.example.musicplayer;

import android.media.MediaPlayer;
import android.os.Bundle;
import android.view.View;
import androidx.appcompat.app.AppCompatActivity;

public class MainActivity extends AppCompatActivity {

    // MediaPlayer instance
    MediaPlayer music;

    @Override
    protected void onCreate(Bundle savedInstanceState) {
        super.onCreate(savedInstanceState);
        setContentView(R.layout.activity_main);

        // Initialize MediaPlayer with a music file
        music = MediaPlayer.create(this, R.raw.sound);
    }

    // Method to play music
    public void playMusic(View v) {
        if (!music.isPlaying()) {
            music.start();
        }
    }

    // Method to pause music
    public void pauseMusic(View v) {
        if (music.isPlaying()) {
            music.pause();
        }
    }

    // Method to stop music
    public void stopMusic(View v) {
        if (music.isPlaying()) {
            music.stop();
            // Reinitialize MediaPlayer after stopping
            music = MediaPlayer.create(this, R.raw.sound);
        }
    }
}
2. Explanation of Code Functionality
- The
MediaPlayer.create()method loads the audio file from therawfolder. - The Play button starts playback.
- The Pause button pauses playback but allows resumption from the same point.
- The Stop button stops playback and resets the
MediaPlayerinstance.
Step 5: Running the App
Once the coding is complete, follow these steps to run your app:
Using an Emulator:
- Click Run in Android Studio.
- Select an Android Virtual Device (AVD).
- Wait for the app to launch.
Using a Physical Device:
- Enable Developer Mode on your phone.
- Turn on USB Debugging.
- Connect your phone via USB and select Run in Android Studio.
Note: Running the emulator requires at least 4GB RAM for smooth performance.
-
Speech AI Pro Text to Speech App Source Code
Rated 5.00 out of 5₹6,999.00Original price was: ₹6,999.00.₹5,999.00Current price is: ₹5,999.00.
Conclusion
Congratulations! 🎉 You've successfully created a Simple Music Player App in Android Studio. This project helped you understand:
✅ MediaPlayer class for playing audio.
✅ Android UI components like ImageView and Buttons.
✅ Handling media playback (play, pause, stop).
With these concepts, you can further improve the app by:
- Adding a seek bar for better control.
- Implementing a playlist feature.
- Using Kotlin instead of Java for modern development.
We are proud of our customers feedback!
I must say, it’s amazing! The code is well-documented, and I had no trouble customizing it for my needs. Totally worth the price!
I hired Droid Dev Solutions to develop my e-commerce website, and they exceeded my expectations!
As a beginner in Android development, I found the documentation and code structure very easy to understand. I deployed the app within a day
